Wednesday 26 May 2021

(Mini) Gallery Opening (or how to spend time in the most delicious way!)

Yes!  My own mini gallery!

Turns out that all you need to have a gallery opening is a little time, an old mailing box and a sense of fun!

Many thanks are due to Leslie of Berry Birdy who set me off down this creative rabbit hole.  Find her on instagram and then you can see lots of other micro mini quilts too!


These were my first two foray's into the microminisal (sew along).  The idea was to create quilts that were 2" or less (or was it 2.5"? I'm not sure).

The pale pink star was my first attemplet, but I wasn't very pleased with the lumpy binding.

The dark pink star came next, with a neater binding.
Then I went slightly ambitious and tried my hand at a bargello (and made a smaller 'flip' quilt with the leftovers).
By now I needed a gallery space for them, of course!

Leslie herself made a gallery in a drawer - so cute - but I wanted something that would pack up easily.

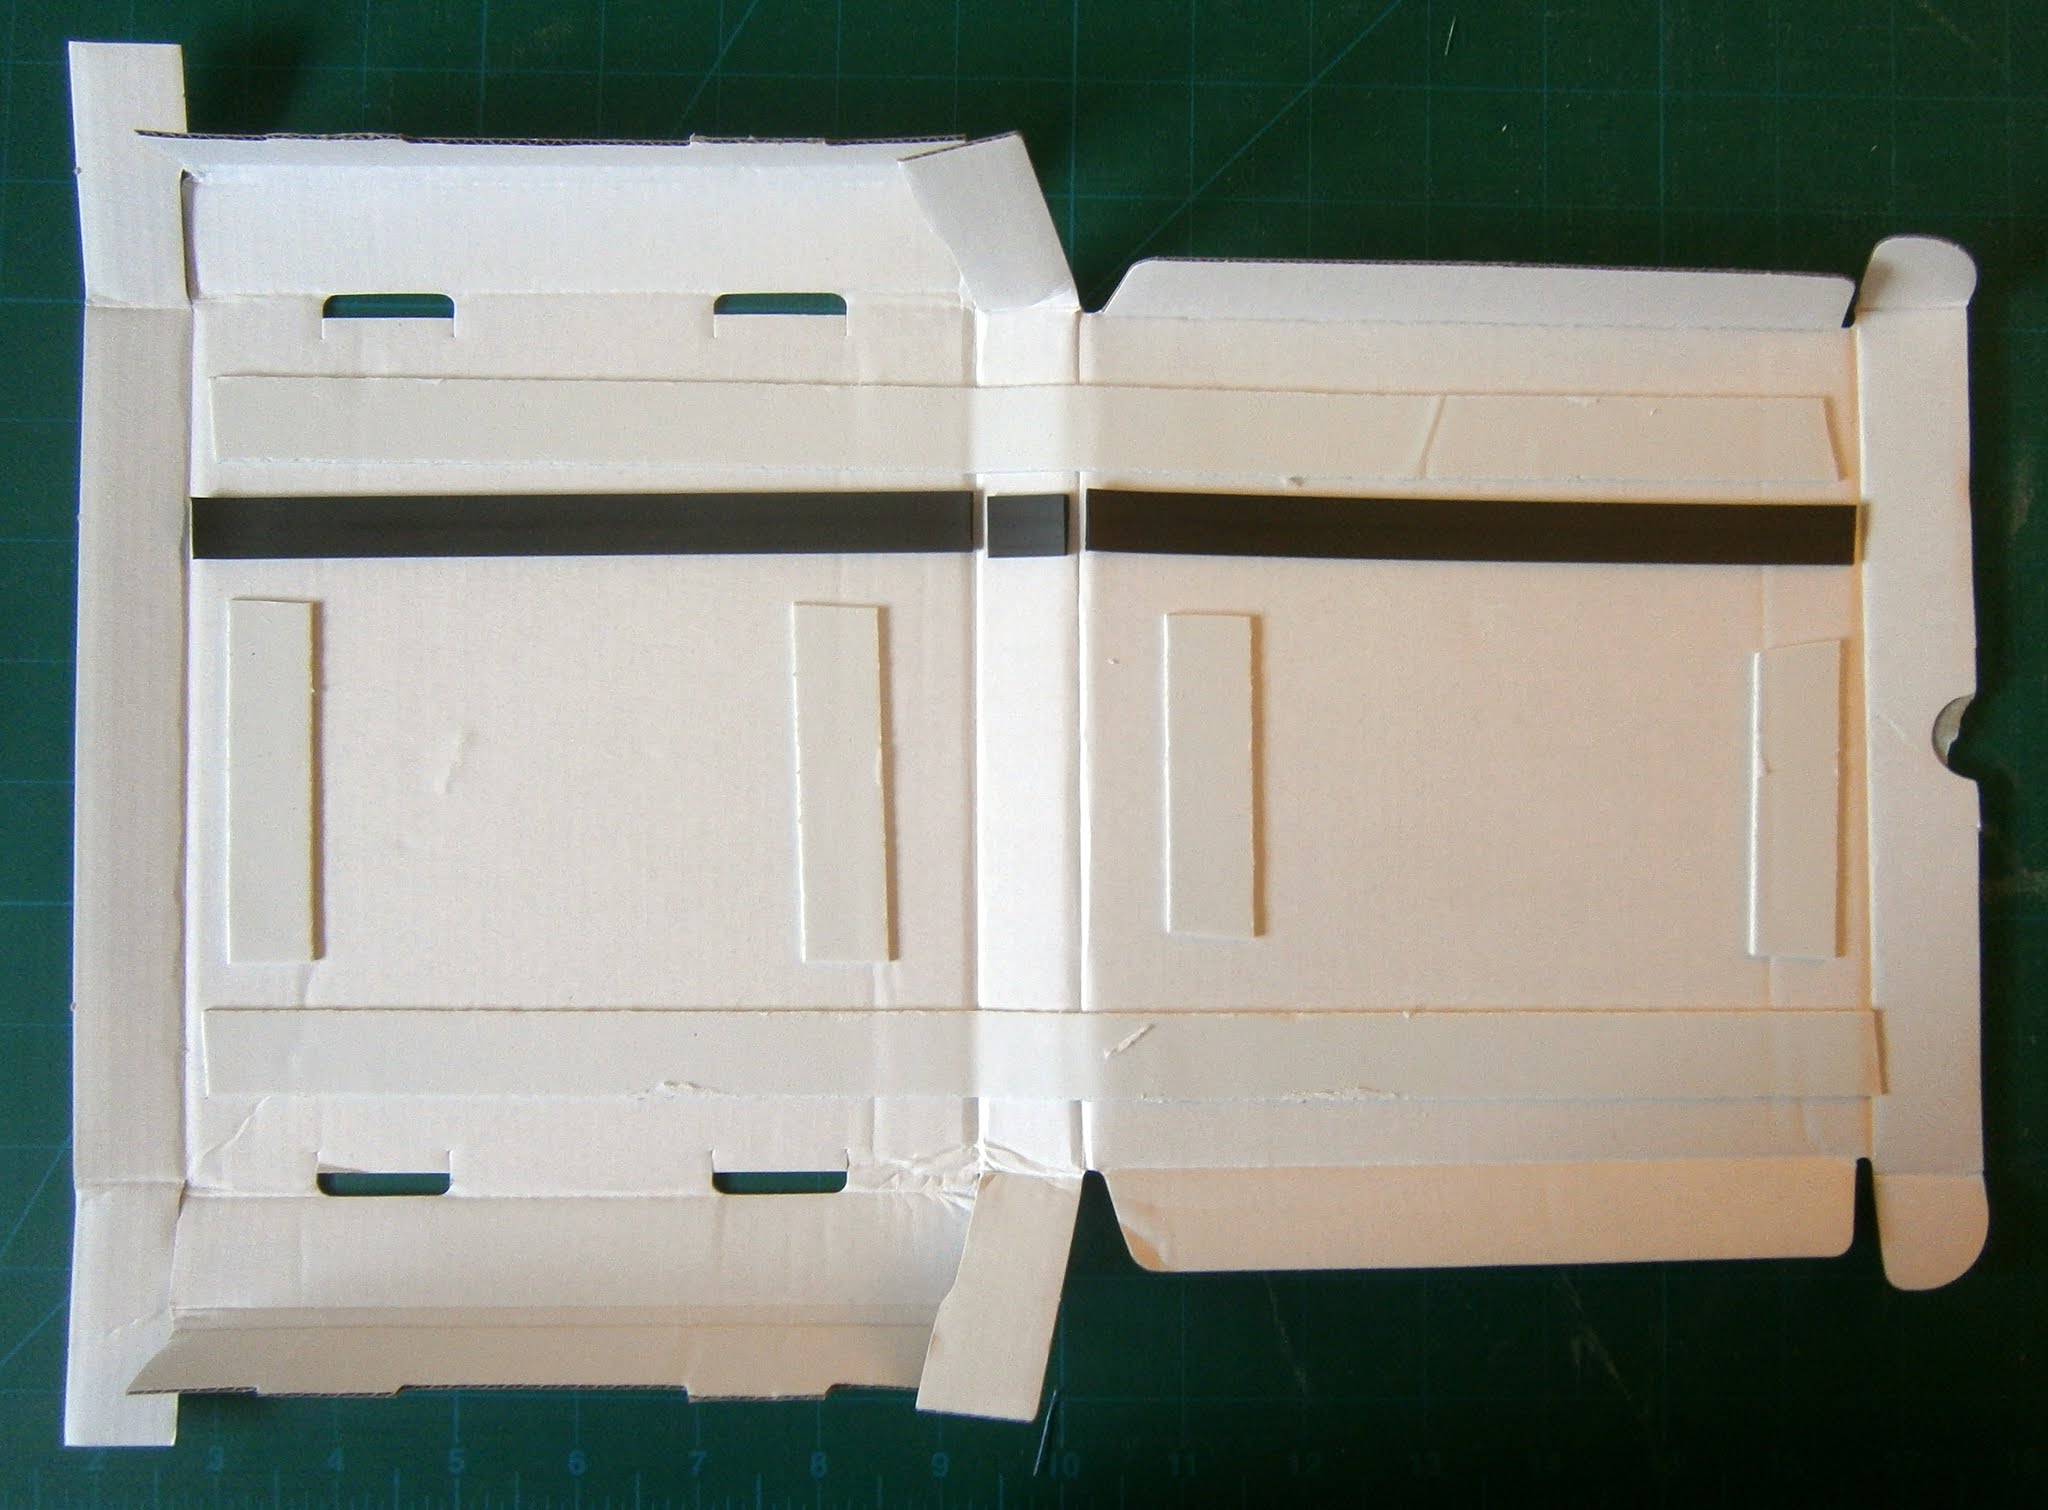
I grabbed a mailer box and some magnetic tape.
Then added some foam tape.  This means that the quilts should invisibly hang on the metal hangers on the magnetic strip (and allow for gallery rearrangements!) but that the walls will stay vertical with the support of the foam tape.
Then I added the paper walls.  

Later, I printed out a sign (and an A board to let visitors know that the gallery was open.  Oh, and then I quilted a floor too.
What then?  More micro minis.  Sorry for the poor photo quality - but this one had a fussy cut centre, and finished at 3/4" square.

The biggest challenge will be not to lose it!
Then another that was a refreshingly large 2" square medallion quilt.
Yesterday I made a hexie quilt, but at 2.5" square it's almost too big for the gallery, cute though it is!

I plan to try and find some smaller hexie papers (or make some) to see if I can make one that is a little smaller.

Can you tell that I'm having fun?  

If you have a few spare minutes and some fabric scraps I can heartily recommend it!
 

Wednesday 19 May 2021

Completed Avery Garland Cushion

Remember that I was working on this?  Work continued, and here is the completed cushion cover.

I finished the hand applique, backed, basted and quilted it, then finished it with an envelope backing.

I followed the lines on the background fabric to cross hatch the middle of the garland.  I quite like the look, but not enough to continue it on the outside of the ring, where there would have been an awful lot of stopping and starting!

The back of the cushion cover was made with my scant remains of the background fabric, with some almost matching blue in the middle.  

Show in it's un-ironed state here, I was quite pleased the overall use of fabric, given what I had left of the diamond pattern one.

 And here it is, in it's full glory.  A 25" square cushion!
 

Fun to make, and I daresay it will be used in the garden over the summer.

Jo Avery made an easy to follow project that was fun to do.

On to my next project now - I've decided to make some simple star blocks with some of my scraps.

Wednesday 12 May 2021

Another Quilt Finished!

I completed this 'square in a square' quilt that I started a couple of weeks ago.

Blocks were joined into strips, strips were joined into a quilt top, a backing was made, wadding cut to size, basting happened.....it take a lot to get from some patchwork blocks into something that is layered and ready to quilt, doesn't it?

Then it was quilted with a loose stipple, bound in the last of the bright pink zig zag, and finished!

You can see here the paisley that I chose for the backing, and plain pale pink that I used in an inserted strip to bring it up to the right size.

It's bright and fun, and I hope that someone enjoys it!  

I suspect that it might find a place in my quilt heap for the moment (it's quite chilly when you are trying to enjoy a cuppa with friends outside this month) although ultimately it will be given away.
 

Finished it was 54" square - perfect for a lap quilt!

Wednesday 5 May 2021

From Scraps to Products!

You know what it's like.  You put scraps to one side until you have time to deal with them, then end up with the drawers not closing before you know it!

It was time to address them again!

It leaves me feeling quite smug once they are coming into order by being cut to standard sizes, ready to use when I next fancy a scrappy project.

I cut into 10" squares, 5" squares, 3.5" squares, 1.5" squares and 2.5" strips.  Anything that doesn't match those (or where a cut would seem too wasteful) gets put into a colour themed bag.

This time I added another couple of measurements to cut to, and cut some pieces to make into re-usable tissue holders.
By cutting at 5.5" x 7.5" (inner and opening 'flash') and 5.5" x 6.5" (outer), then pairing and sewing them together, I ended up with this sort of thing.  A quick press, the two end seams sewn, and then the cover is ready to be turned through and filled.
Before I knew it I'd made 40!

What a delightful tumble of them!

And here they are in their serried ranks (missing one to a family member already!).  I daresay that they will raise a few pounds for a charity.


Fun to make something a little different.