Tuesday 23 June 2020

Colourful Quilt Top

 It all started well.

Half square triangles neatly trimmed.  Tick
 Shoo fly block laid out.  Tick.
 Shoo fly block.  Sewn.  Tick.
 Block cut apart.  Tick.
 Blocks rotated.  Tick.
 Block sewn together.  Errrr....... no.  I don't know how I managed to put them together differently from the way that they were arranged before I sewed them!  I obviously failed to sew the right sides of the two halves together.

What's worse, is that having sewn this as a test block, I then used it to make all subsequent blocks!

I suppose I should be grateful that all of them are wrongly the same!
 Of course, I didn't manage this lay out straight away - I managed to rotate a couple of the blocks by 90 degrees, so I had to do a little unpicking and reswing.

It was only when the quilt flimsy was complete that I realised my error on the internals of the block!

Doh!  So, not quite like the pattern in the book, but still very bright and fun.  This will rest now until I feel inspired to back, baste and quilt it.
42" square.
We also had a birthday in the household.  DD2 celebrated with socially distanced pizza in the garden on one evening, and afternoon tea with family on the following day.  My Hamilton themed cake wasn't a stunner, but did use only the fondant icing that I had on hand, which was great!

Hope that you've had a good week too!

Wednesday 17 June 2020

Where did the week go?

 Do you like this stage in a project too?  Where it's hard to believe that this small amount of neatly cut fabric will, with the magic of sewing machine and rotary cutter, soon add up to a whole quilt top?

For me, it's just as well that I enjoy this stage, as I cut this fabric last week, but have yet to move it on to the sewing stage!

I'm sure that I've been busy, but I think that the home college / school work support and 'domestic duties' must have been more time consuming this week for some reason.
Glorious colour!

I'm not sure that the white background is a truly useful background colour when the size will be a baby quilt, but at least it will be nice and jolly.

I'm looking forward to trying a 'disappearing' shoo fly block with them.  A pattern from 'Turnabout Patchwork' by Mairal Barreu.

I'm hoping to find more sewing time this week!

Wednesday 10 June 2020

Tutorial - Fabric Travel Pouch / Bag for Masks

 I was thinking through how the masks that I'd made were going to be used.  Some will be used on public transport, taken off (for example, schooling) and then what?  What do you do with your 'grubby' mask?

Obviously you could buy or make a fabric bag to put it in (FabWraps is still open on Etsy and selling bags!) but I wanted something that I could keep clean masks in too - ready for a journey home, say.

So this drawstring bag with pocket was born.  You keep clean masks in the outer pocket, and drop your used masks into the drawstring bag.  When you get home you can drop the whole package into the washing machine.

Genius, if I do say so myself!  So here's a tutorial.  Measurements are for my style of masks (finishing approximately 8.5" x 4")  but I'm sure that you can adjust it for your mask size / shape.
 You need three pieces of fabric and a length of cotton tape.  Two pieces 7" x 14", one piece 7" x 10" (for each bag I cut a 7" across the width of my fabric and added a piece into my scrap bag from the end of it.

Turn a hem on the top of the shorter piece.

Put a button hole in the centre of one of the tall pieces, 2" down from the top.
 Layer up the three pieces as follows with their bottom edges aligned.


  • Right side up, button hole piece with button hole at the top.
  • Right side up, shorter pocket piece.
  • Wrong side up, plain tall piece.
Then sew around three sides - the long sides and the bottom.  I like to reinforce the start, stop and where the top of the pocket it with a 'forwards and backwards'.

 Now turn over 1/4" at the top (and press if liked).
 Next turn over approximately 1.5" to make a neat edge.

This is going to form the channel for your drawstring.
 Sew the channel, less than 1/4" from the folded edge of the fabric, using the free arm on your machine.

Now turn the bag out.  If the pocket looks inside out don't worry - you just need to pull it from inside the bottom corners to make it go the right way round!
 Thread the tape through the channel and knot the ends together.  I used 23" of cotton twill tape, so that I know it it is washable.

Ta-da!  Finished item.

You are ready to load it up with your clean masks in the front pocket, ready for your trip out.
 So, how did I spend my weekend?  Well, this was the batch that I made on Sunday, having done something similar on Saturday (and a few more masks for good luck!).


I hope that the idea is a good one and that it might have some use for you.

And stitching just for me?

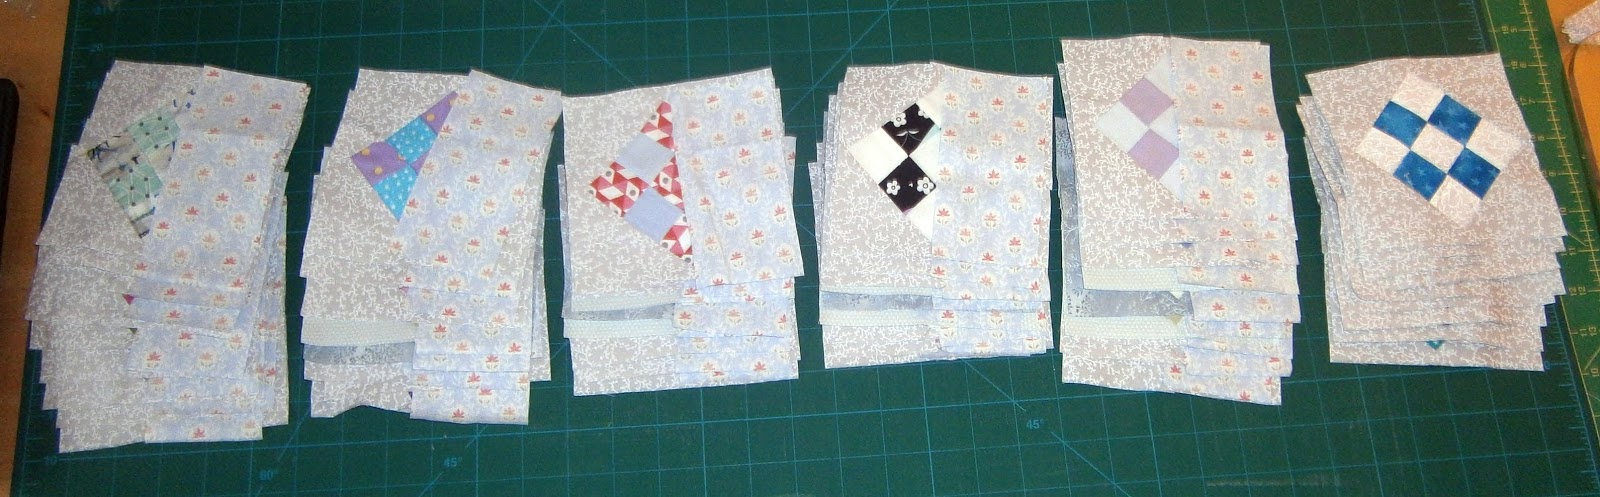
More mini homes.  I'm still managing to complete one a day as part of the #100dayproject.

Loving these little bits of silliness!

Wednesday 3 June 2020

Another Glorious Scrap Quilt Finish!

 Do you ever have one of those projects that just ticks along in the background?

This turned out to be one of those!

Nearly a month ago I showed you these little 9 patch squares.

Then I added triangles to bring the size up a little.

Then trimmed.
 Then had to plan out a layout - taking into account the three different grey fabrics that I'd used for the setting triangles (I'm working from stash, using up smaller pieces!).
 Then pair them up with the sashing that I wanted to use, ready to sew
 Time to check that the lines had stayed where I expected them to stay, before adding the longer sashing strips to complete the quilt top.
 So that happened over the course of the month.

Last week I patched up enough wadding (a total of 27 pieces!) to make something large enough to complete the quilt sandwich.

Once it was basted, it didn't take long to quilt it with a wavy line.  Not too dense, I still want it to be cosy.
 I didn't strive too hard to keep them parallel.  Just close enough to have a relationship to each other.
 Here it is, complete.

We already have a family game of 'choose your favourite' - lots of fabrics that we recognise from other projects!

Finishing at 40" x 60" This one is likely to be a keeper.  It's destined for the back of my sofa for the moment.  I'm enjoying it (and enjoying the fact that I managed to get all the sashing fabric facing the same way - I don't usually choose directional fabrics for a reason!).
 Alongside that excitement there were also a few more of these.
 This time with draw string laundry bags for people on a day trip or (later in the year!) an overnight trip.
And button up pouches to keep the clean masks all in one place.

I haven't made one of these simple 'clutch' bags for ages.  Good to find that they are still as simple to make as I remembered!