
I decided to make oversized blocks - they finish at 14" square - and this is how I did it.
I cut 6 x background strips and 6 x feature fabrics strips - each of them 5.5" x width of fabric. (So a yard each of two fabrics would also work, with enough left for binding it).

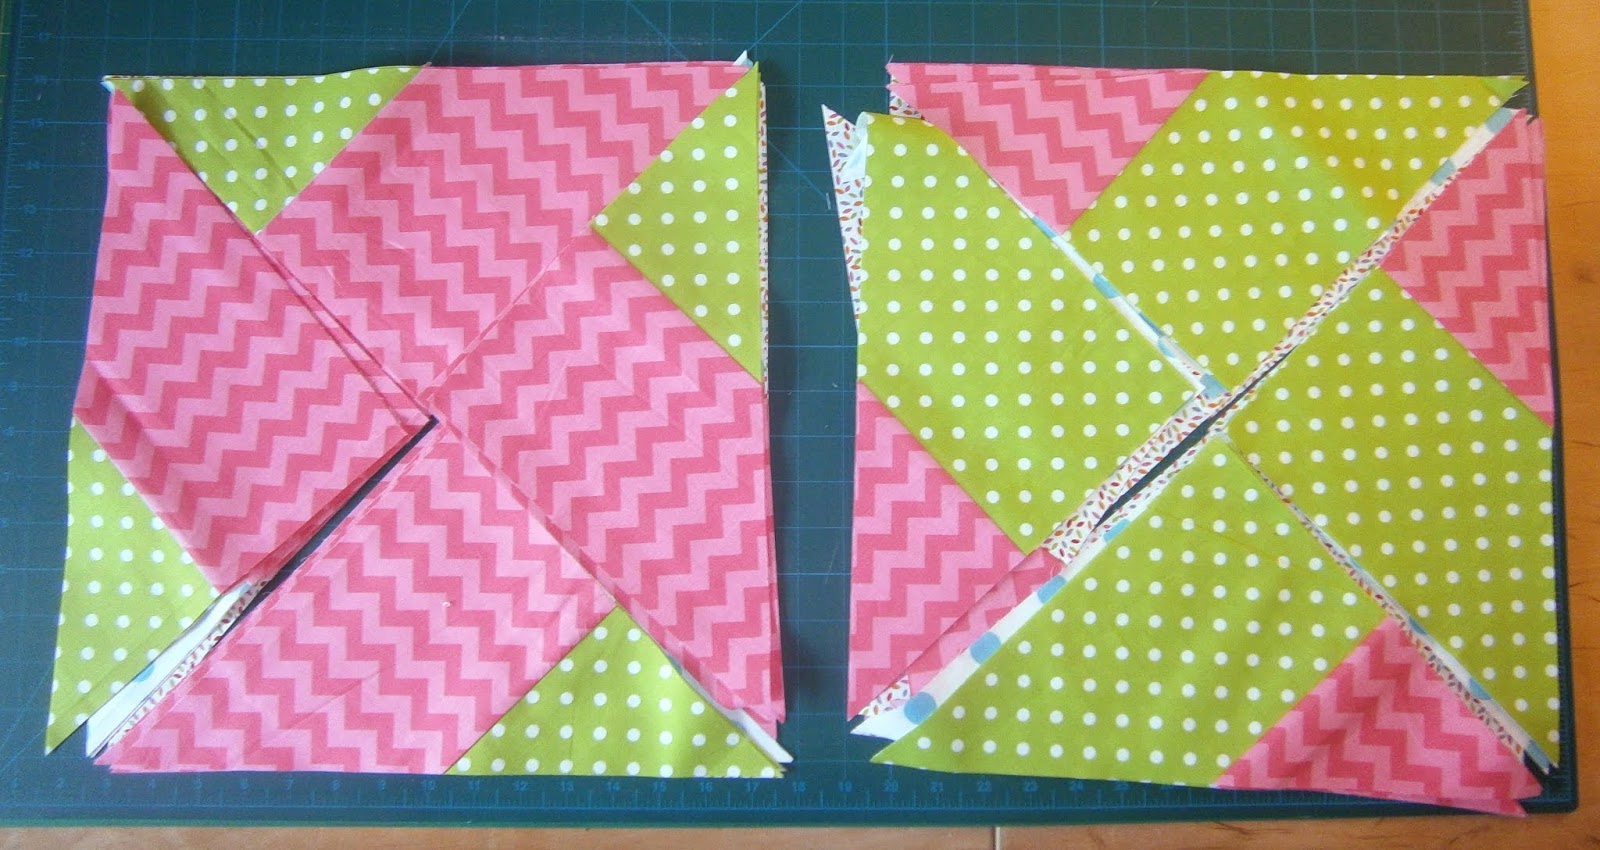
Next I subcut the pressed fabric pair strips into 10.5" squares with the background fabric closest to me, then cut them all diagonally from top left to the bottom right. It's important that they are all cut the same way!

I chose just three feature fabrics. Six might have been more fun, and I'd have scattered the block colours around more rather than making strips.
I think that this would also work in just two fabrics, and I might try that soon.
This gives a overall size of 42" x 562. Perfect cot quilt size.
Now all I have to do is back, quilt, bind and label it!
This looks great--I will have to try it out...thanks ;)))
ReplyDeletehugs, Julierose