I know that there are dozens of other book cover tutorials out there, but I've finally found a method that I'm happy with, so I want to record it here and share it with you!
1) Start off with the notebook of your choice and measure it.
You need four pieces of fabric in total:
Sleeves: 2 x (height of the book plus 1/2") x (width of book + 1")
Cover / lining: 2 x (height of the book plus 1/2") x (2 x width of book plus depth of the book plus 1").
Did that bit of maths put you off? As an example, a book that is 6" x 4" and 1/2" deep, needed 2 bits of fabric that were 6 1/2" x 5" and 2 bits of fabric that were 6 1/2" x 9 1/2".
2) If you want to quilt or decorate your outside cover now is the time to do it.
3) Fold your sleeves in half longways (tall ways!) and iron the crease in place.
4) Put the cover face up on the table and add the sleeves on top, lining them up carefully with the folded sides towards the middle.
5) Put your lining piece face down on the top of this pile and pin carefully.
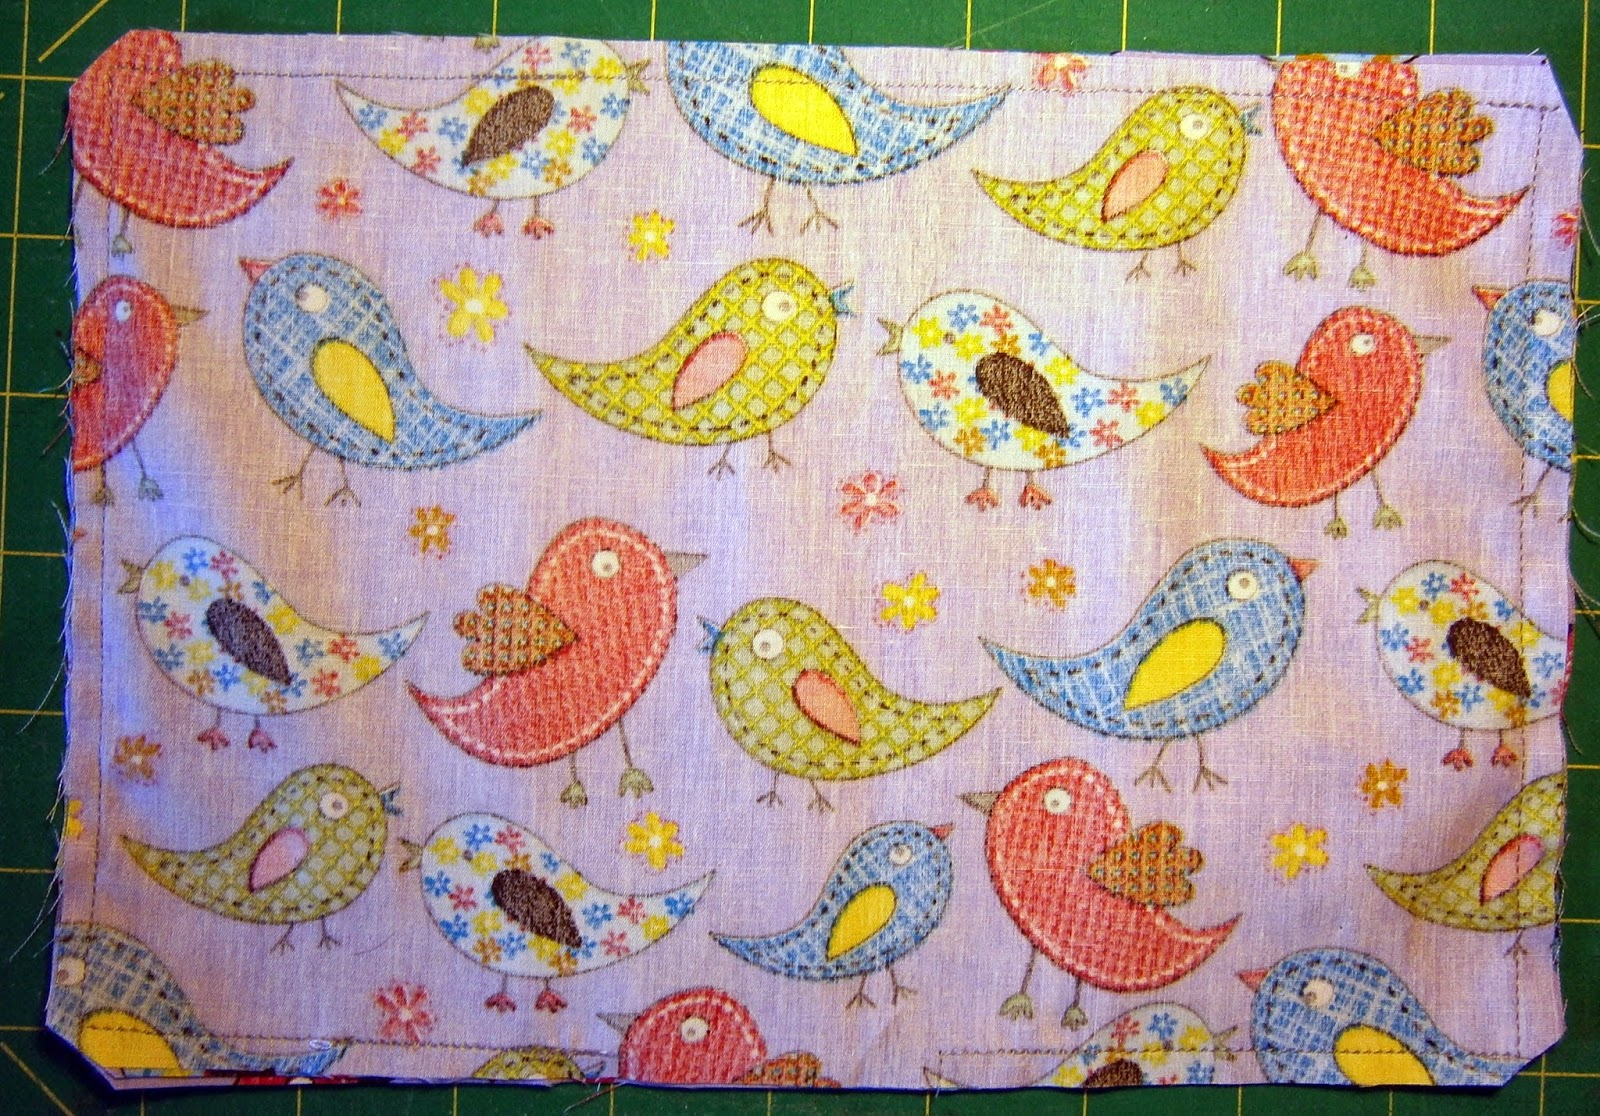
6) Starting in the gap between the sleeves at the bottom of the pinned fabrics, sew around the rectangle using a scant 1/4" seam.
7) Stop sewing when you have a gap of 2 - 3" left (you can just see it here if you look carefully).
8) Clip the corners to make it easier to neaten them when they are turned through.
9) Turn the cover through.
10) Slip stitch the opening closed, and iron if wished.
11) You are now the proud owner / maker of a notebook cover with NO RAW EDGES LEFT ANYWHERE! This is why I love this method so much!
I can't believe that it's taken me so many years to finalise a method that actually leaves me completely happy with the result!
Of course, when I say completely happy, you may wish to twiddle with the measurements slightly - I'm probably going to add another 1/4" to the width of the cover in the future, as even with a scant 1/4" seam it feels *almost* too snug.
I shall leave you to make your own choices, of course!
This is a quick make (20 mins start to finish for this one), but would be much nicer if personalised or made with a lovely quilted or embroidered piece, of course!
Enjoy!


Thanks for the tutorial, the cover looks great! I've been making them too and I quilt mine, which is lovely but they take longer. I had the same issue of getting the balance between too 'snug' and too baggy!
ReplyDeleteHa! I should have been reading blogs instead of googling book covers yesterday! That's exactly what I wanted for a class! I've got my outer cover packed to take snd decorate on holiday and will make it up when I get back, thanks Plum x
ReplyDelete