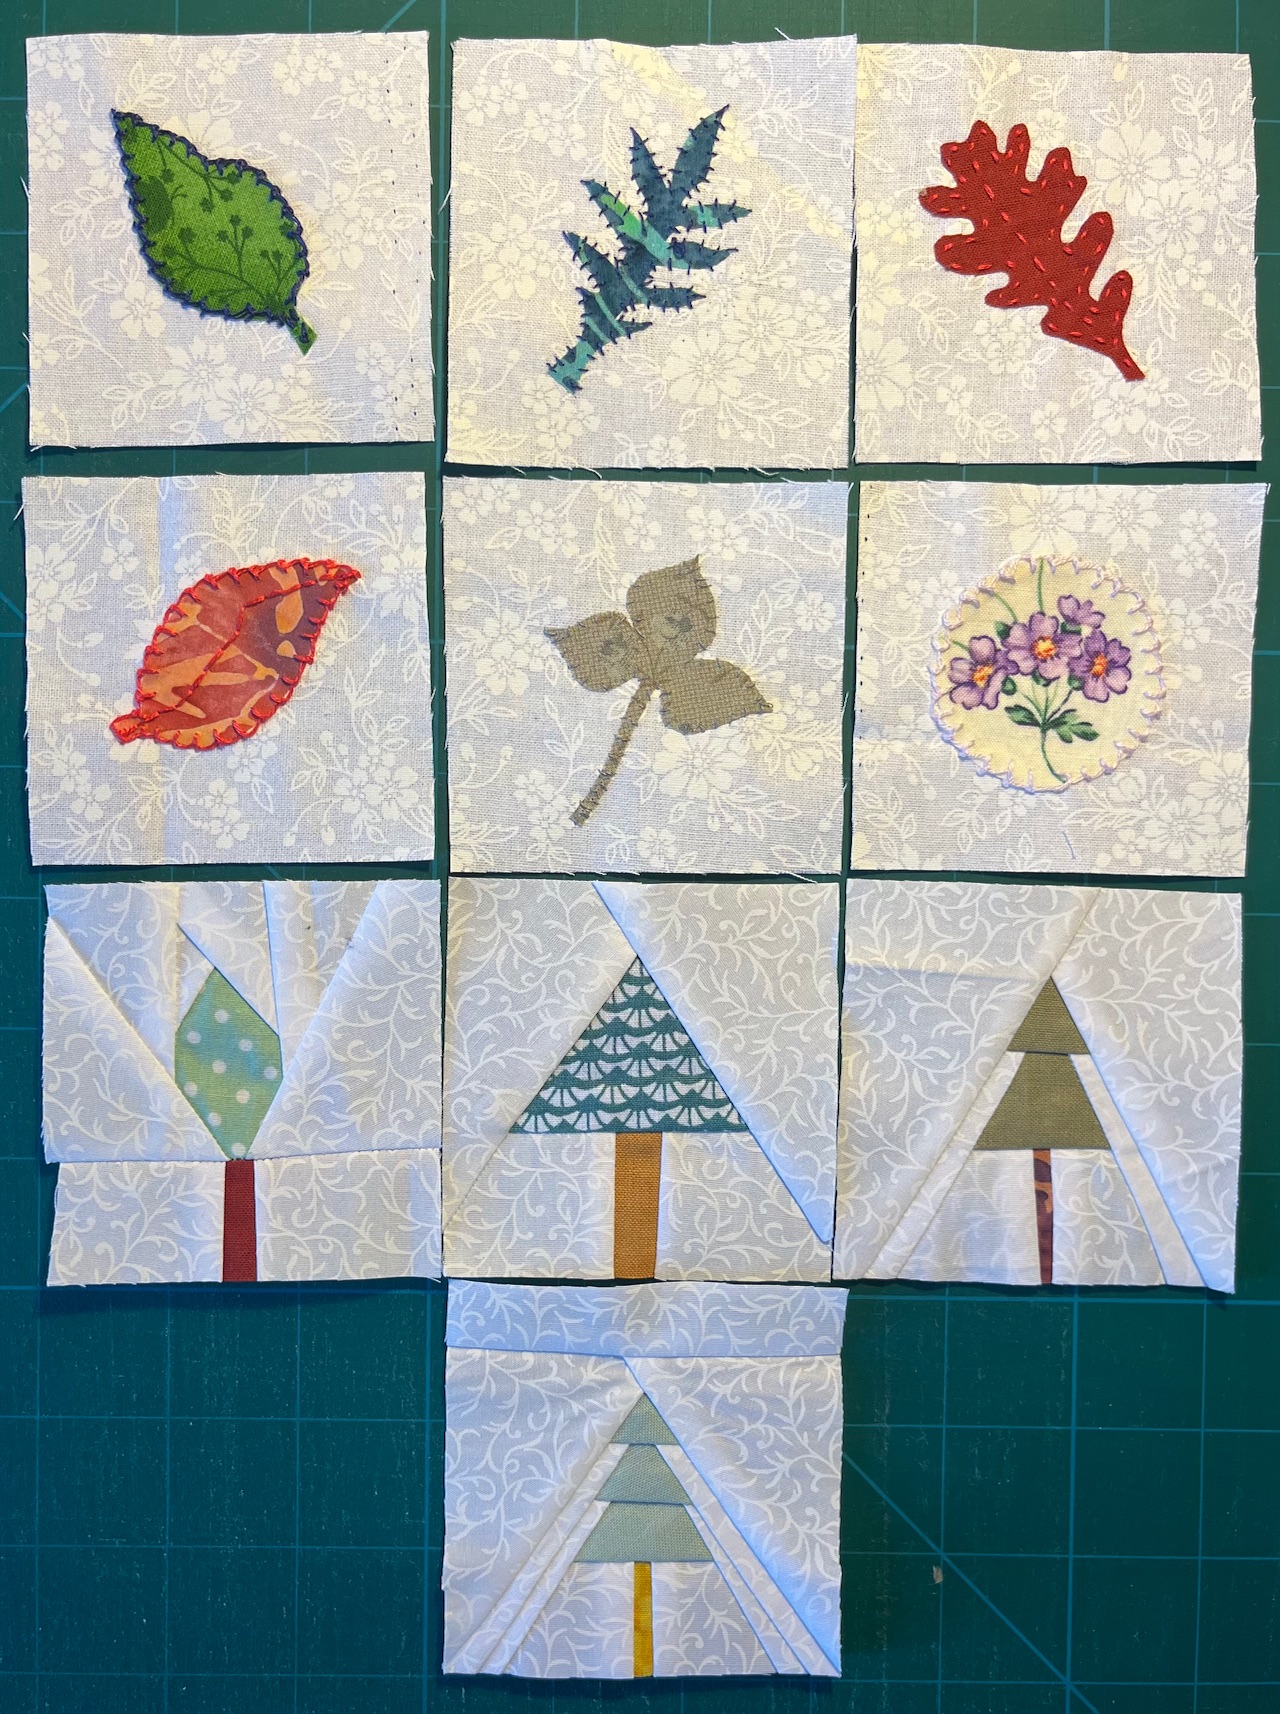
These are paper pieced. I'm not a fan of having to trace all the papers, it turns out, as I never think that they are particularly accurate. However, there isn't an option not to if I want to make the blocks, so I've made them, then ironed them as flat as I can get them!

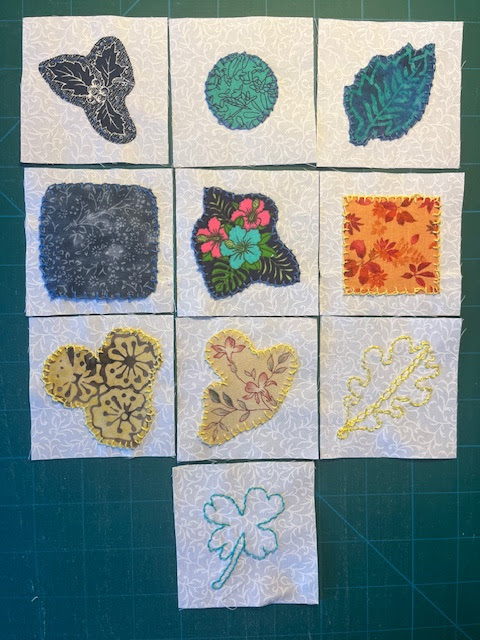
Oops!
I wondered about re-making it, but decided that it told more of a story of this being made between other projects if I owned the error - so it now has a chunk of iron on interfacing supporting it from behind, and a tiny satin stitch over the cut lines on the front.


I've made a total of 51 blocks now, out of a planned 100.
I just hope that my blue fabrics scraps hold out - they are looking much more meagre than when I started, I have to say.